

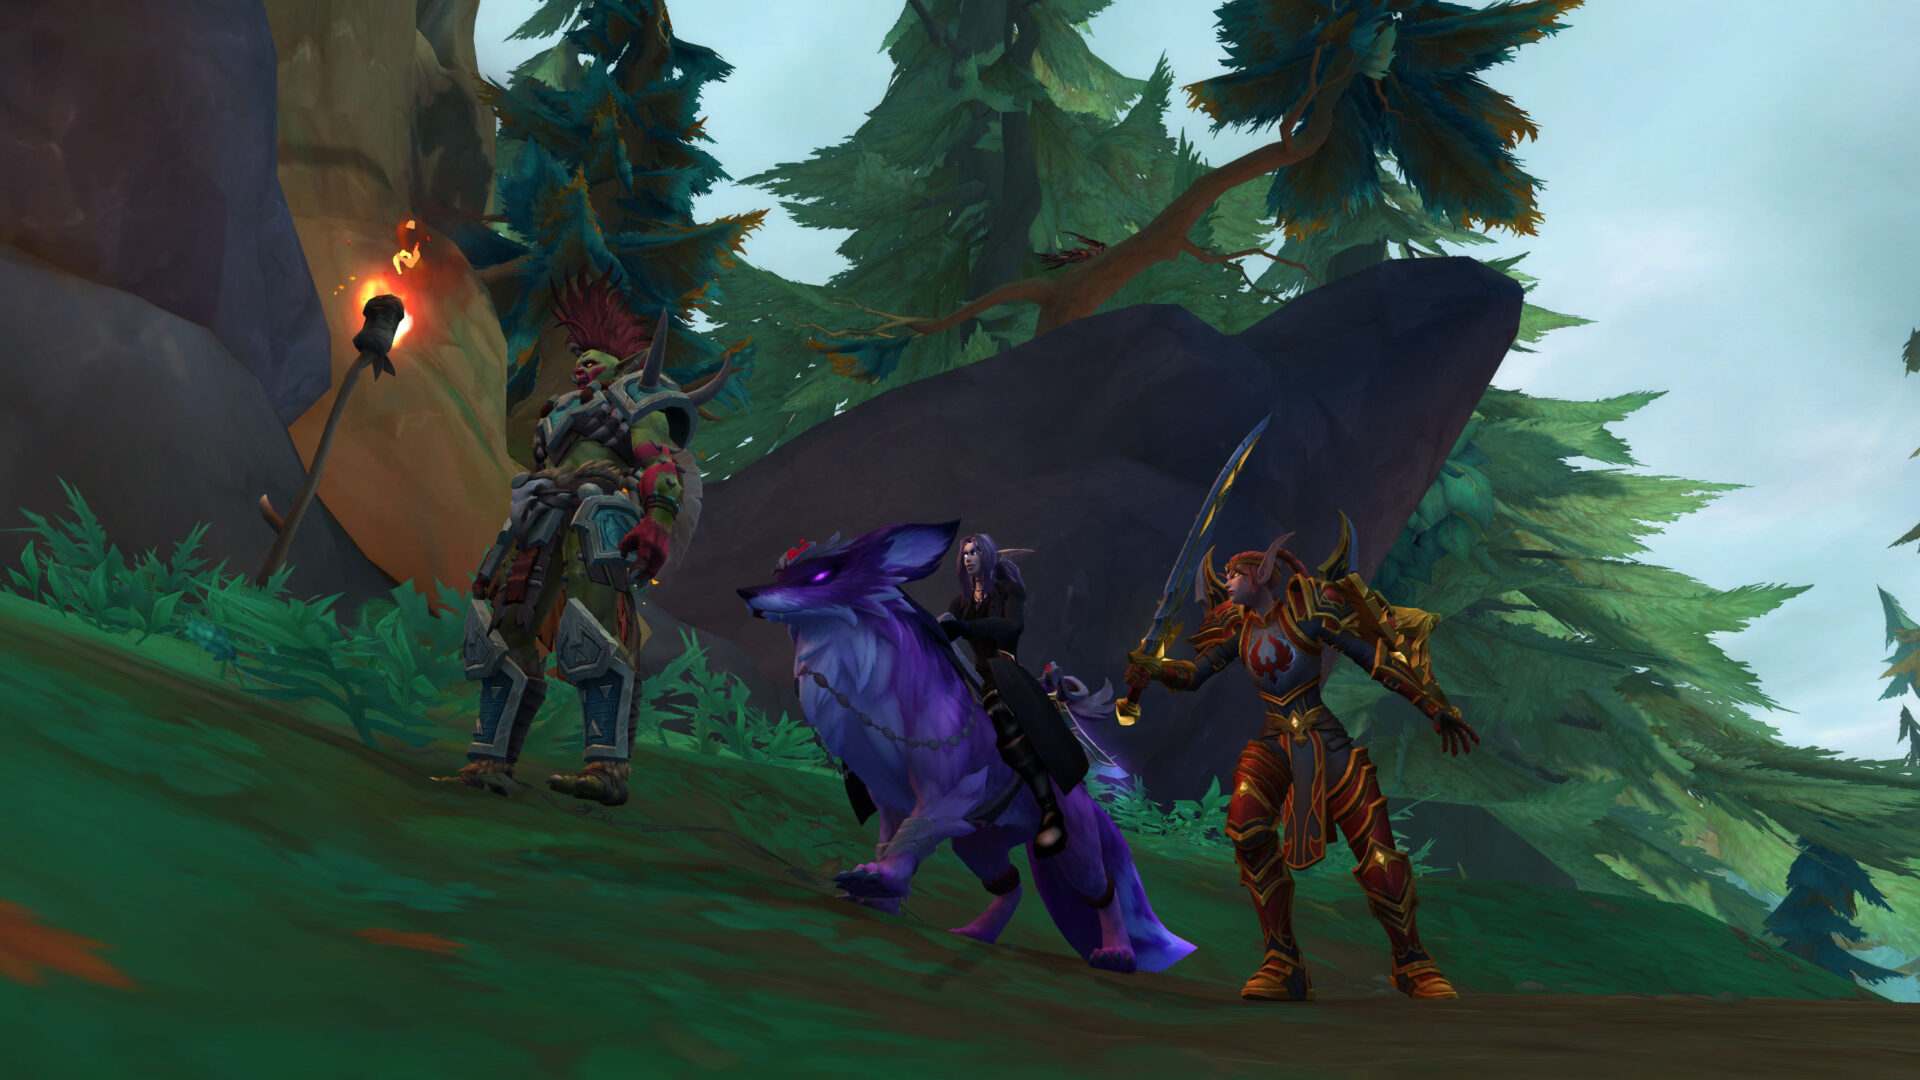
The encounter with Galakras in the Siege of Orgrimmar raid presents a unique blend of tower defense mechanics and phase-based strategies. As players venture into this multi-faceted fight, understanding how to effectively handle both the ground and aerial components is crucial for success. The fight is divided into two main phases: the ground phase, where players must manage adds and tower defenses, and the drake phase, which requires precise coordination and execution. This guide will delve into each aspect of the fight, providing insights and strategies to help your raid team achieve victory against Galakras.
Ground Phase Mechanics: Managing Adds and Towers
The ground phase of the Galakras encounter introduces players to a variety of mechanics that require vigilance and coordination. Players must split into two teams: one to defend the towers and the other to handle the incoming adds. Each tower has a specific function—one provides a buff to players while the other serves as a major defensive position against the onslaught of adds. Understanding the importance of tower control is key; teams must prioritize their objectives based on incoming enemy waves. Players should also be aware of the aggro mechanics, ensuring that they do not pull unnecessary adds that could lead to a wipe.
| Tower Type | Function | Cooldown |
|---|---|---|
| Flame Turret | Deals damage to adds | 30 seconds |
| Healing Tower | Heals players in range | 45 seconds |
| Shield Generator | Provides damage reduction | 60 seconds |
Properly utilizing the towers significantly affects the raid’s overall performance. Players assigned to the towers must communicate effectively and manage their resources wisely, ensuring that they can handle the influx of adds while maximizing tower effectiveness. Additionally, players should be mindful of the line of sight (LoS) during this phase to avoid unnecessary damage and maintain positioning for optimal healing and damage output.
Drake Phase Strategies: Aerial Assaults and Target Prioritization
Once the ground phase concludes, the focus shifts to the drake phase, where players must engage Galakras and the drakes in the air. This phase requires strict adherence to target prioritization, as the drakes can provide significant buffs to Galakras if not dealt with promptly. Players on drakes must manage their abilities effectively while also paying attention to their ground counterparts. Key abilities, such as the Grapple and Fireball, must be timed correctly to maximize damage output while minimizing risk. Coordination is essential, as players must communicate their targets and timing to ensure that the drakes are taken down swiftly.
- Prioritize the drakes that are buffing Galakras first.
- Coordinate cooldowns for burst damage during the drake phase.
- Manage positioning to avoid overlapping damage from fireballs.
- Utilize movement abilities to stay mobile and avoid damage.
In this phase, players should also be aware of the environmental hazards, such as falling debris and fire, which can quickly lead to death if not evaded. Effective communication between ground and aerial teams is vital, as players must relay information about drake health and any incoming mechanics. By adhering to these strategies, the raid can effectively transition between phases and maintain momentum throughout the encounter.
Conclusion: Synergy and Execution for Success
Successfully defeating Galakras hinges on the synergy between ground and aerial teams, making communication and execution paramount. Each phase offers unique challenges that require players to adapt and strategize dynamically. As players become more familiar with the mechanics, the encounter will become smoother, leading to improved parsing and overall raid performance. Mastering the intricacies of the Galakras fight not only enhances individual skill but also strengthens the team as a whole, paving the way for further successes in the Siege of Orgrimmar.
Leave a Reply